Start Selling on Downtown+
What You Need
- A Downtown+ account
- An approved business profile you own, or a verified individual profile. Business profiles can sell on the free tier. Individual profiles need verification first (see Get Verified)
- A connected Stripe account for payouts
- A ship-from address configured in Business Settings → Shipping. Required before listing any physical product (flat rate, per-item, free, or dynamic shipping). Digital products are exempt.
How Many Products You Can List
A free business profile can keep 3 products listed at a time. Verifying raises that to 15, and Pro raises it to 30. A verified individual profile can list 5 products, or 15 on Pro. See Get Verified for the full comparison.
Connecting Stripe
An active Stripe connection is required to sell on Downtown+. Charges are created directly on your connected Stripe account, so you must maintain your Stripe account in good standing to receive payments.
- Go to Settings → Connect
- Click "Set up payments"
- You'll be redirected to Stripe to sign in to your existing account or create a new one
- After completing setup on Stripe, you're redirected back to your Downtown+ settings page
- Once verified, you'll see a progress indicator with your capability status
Already connected Stripe to verify a business claim? You are done. Connecting Stripe as one of your claim verification methods uses the same setup, so when your claim is approved the account carries straight over to your selling setup. You will not be asked for it twice.
Vendors cannot disconnect their Stripe account while they have unfulfilled orders, pending refunds, or open disputes. Resolve all outstanding obligations before disconnecting.
Stripe may periodically request additional verification to keep your account active. If action is needed, you'll see a notification in your Connect settings with steps to complete. Your products are temporarily hidden until the requirements are met.
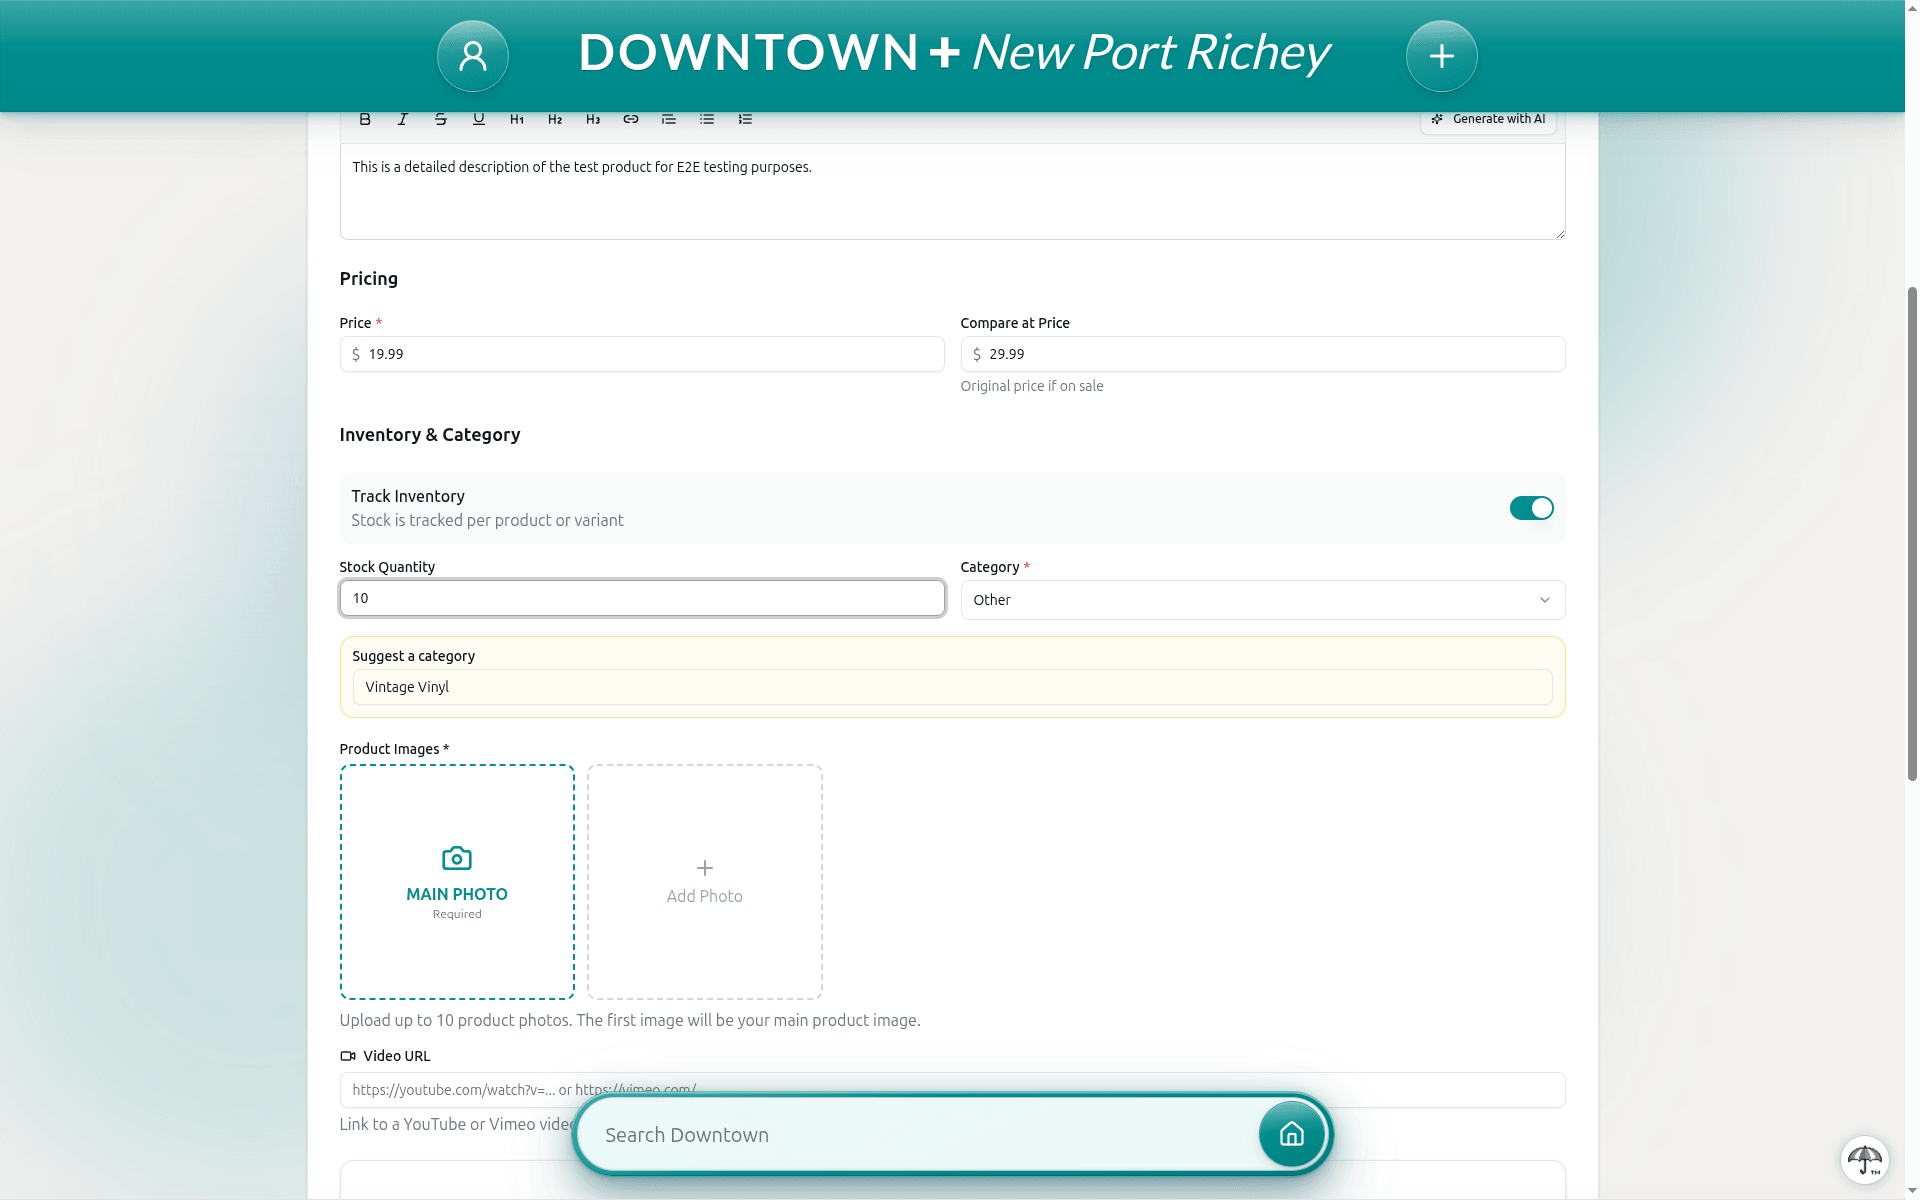
Creating a Product
- Click "Add Product" from the Products section
- Enter title, short description (up to 40 characters), and full description. Short descriptions cannot contain URLs, email addresses, phone numbers, or social media handles.
- Set the price (minimum $3.00) and optional "Compare at" price
- Choose a category
- Upload product images (main image required)
- Configure shipping (see Shipping Configuration)
- Set inventory count
- Submit for review
Product Variants
If your product comes in multiple options (e.g., Size, Color), you can enable variants:
- Check "Enable Variants" in the product form
- Add options like "Size" or "Color" and define values for each (e.g., S, M, L). Every combination is generated for you as you add values — there is no separate generate step
- Set price and inventory for each variant in the grid
- Optionally assign SKUs and toggle individual variants active/inactive
Each variant has its own price and inventory. The shop listing shows the price range (e.g., "From $15.00"). You can add up to 3 options per product with a maximum of 216 variant combinations. Uncheck "Track Inventory" for unlimited stock.
Detach vs Disconnect
If you have multiple profiles linked to the same Stripe account, each profile shows a "Detach"option. If you're the only profile on the account, you see "Disconnect Stripe from this profile" instead.
- Detach— Removes one profile from a shared Stripe account. Your Stripe account stays active for your other profiles. You can re-link the detached profile anytime by clicking "Re-link Stripe"in Settings → Connect.
- Disconnect Stripe from this profile— Fully disconnects this profile from your Stripe account. You'll need to complete payment setup again to sell. Use this when you're the only profile on the account. Nothing changes on Stripe right away: if it was the last Downtown+ connection to that Stripe account, we release our access no sooner than 90 days later, and longer than that if you have had a recent sale, so we can still see any chargeback against it. Reconnecting at any point before then keeps it. Your Stripe account itself stays open either way, and you keep full access to it at stripe.com.
After detaching or disconnecting, your products and marketplace deals are hidden from public listings. Standard (informational) deals stay visible because they don't involve a transaction. Customers who already have your products in their cart will see them marked as "seller temporarily unavailable." Customers who saved one of your marketplace deals will see a "Seller unavailable" badge.
Reconnecting restores everything. For detached profiles, click "Re-link Stripe"in the profile's Connect tab. No need to repeat onboarding. For a full disconnect, you'll go through payment setup again. Once your Stripe account is active, your products and marketplace deals reappear and cart warnings clear automatically.
Product Types
- Physical products — Shipped, picked up, or flat/free delivery
- Digital products — Auto-delivery (upload file during creation) or manual delivery (you provide a link after purchase)